Acronis Backup Cloud
Activate your Acronis Backup account
Log in to your Acronis Backup account
Install the Acronis Backup agent
Create and enable a backup plan
Change backup plan
Update the Acronis Backup agent
Uninstall the Acronis Backup agent
Restore files
Restore server
File systems and limitations
Upgrade Acronis Backup Cloud
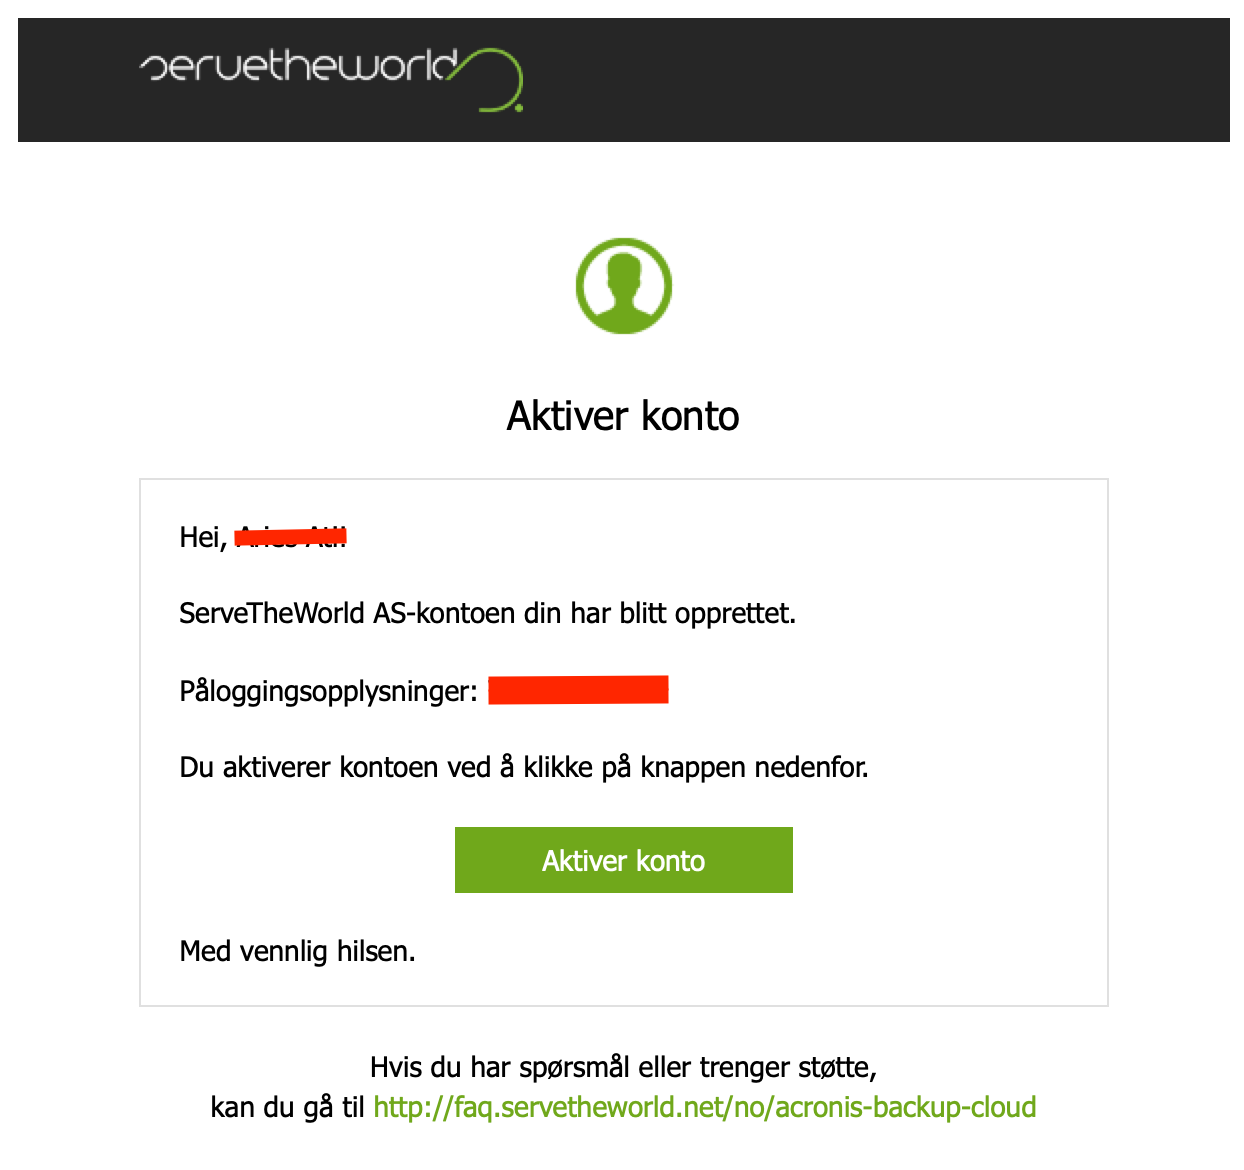
Activate your Acronis Backup account
This is done by clicking a link in an email sent to the administrative contact for the customer relationship.
Log in to https://my.servetheworld.net
Go to Products
Click My Products
Click Manage on the Acronis Backup service
Click "Resend activation link"
- Click Activate Account in the email.
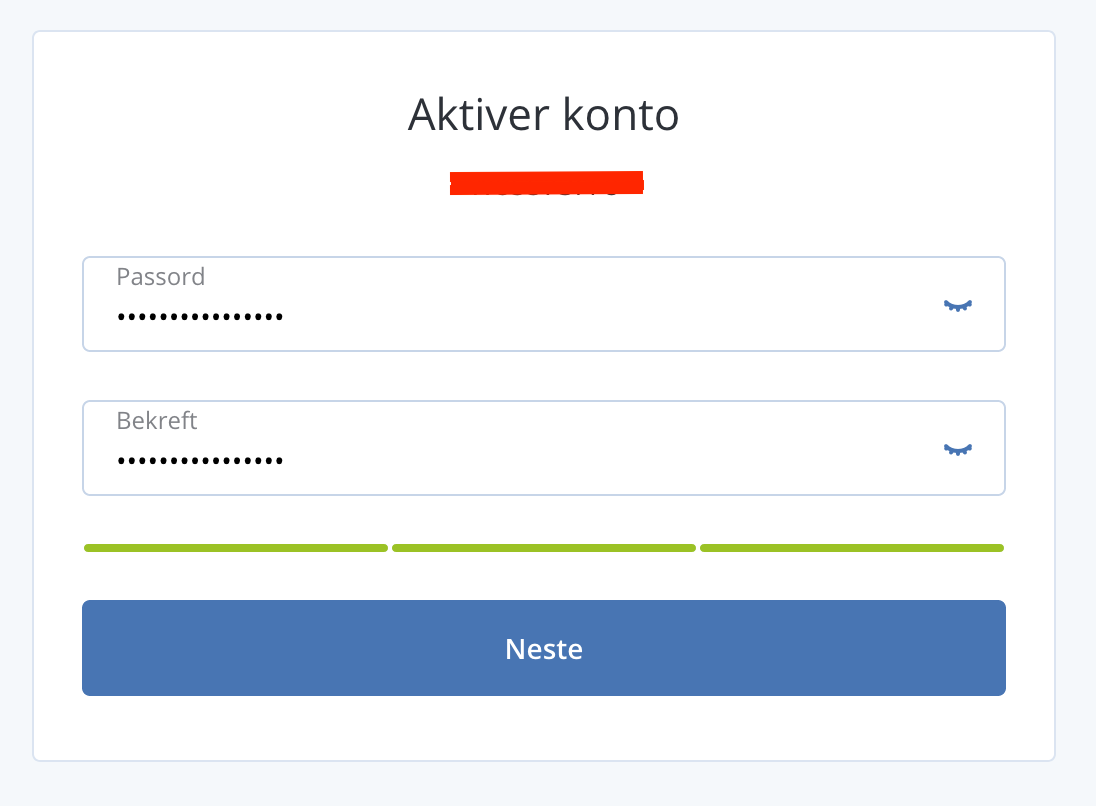
- Set a unique password for your Acronis Backup Cloud user account
- You can now log in to the Acronis Backup account
- The next step is installing the backup agent
 |
 |
Log in to the Acronis Backup account
Log in via https://my.servetheworld.net
Click Products
Click My Products
Click Manage on the Acronis Backup service
Click Go to Cloud Console/Gå til sky konsoll
Click Manage Service/Adminstrer tjeneste
Alternative login
Log in directly at https://baas.stwcp.net
Requires the username and password created when the service was activated, see Activate service

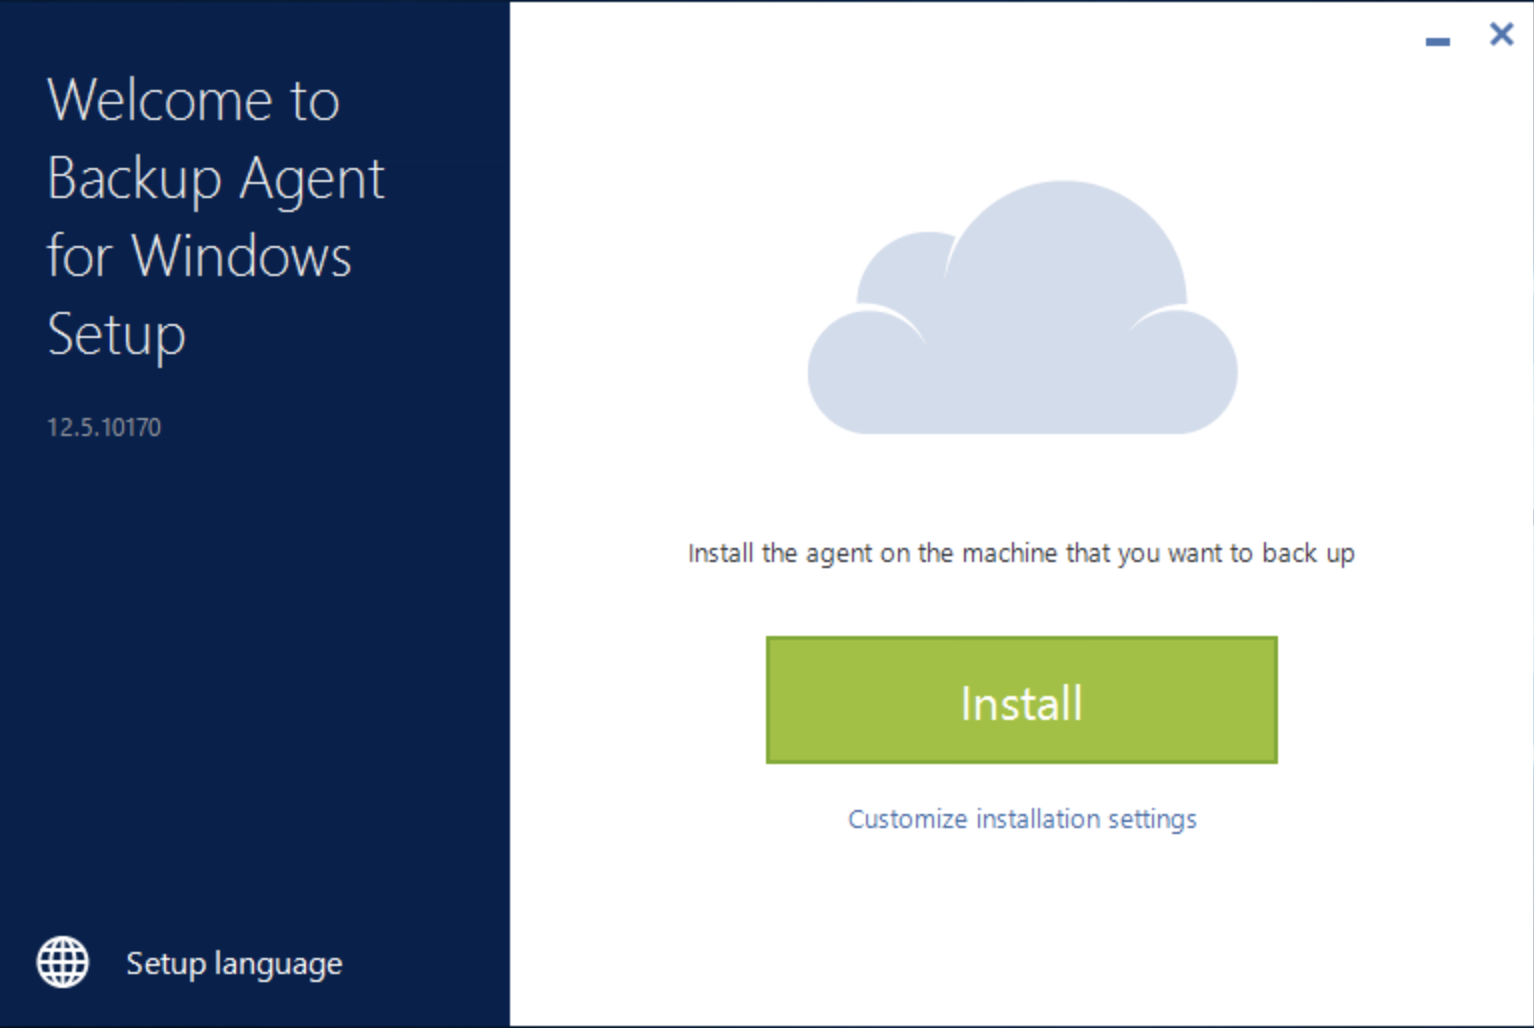
Install the backup agent
Install the backup agent on Linux
For Linux distributions that do not use RPM, e.g. Ubuntu/Debian, RPM must be installed (apt-get install rpm)
The agent requires the following packages installed on the server (you will be prompted to install them if they are missing):
| Distro | Package |
|---|---|
| CentOS | yum install kernel-devel gcc make |
| Ubuntu/Debian | apt-get install rpm linux-headers-$(uname -r) linux-image-$(uname -r) gcc make |
- Log in to your Acronis Backup account
- Go to Devices/Enheter
- Click Add/Legg til and download the software for Linux
- Transfer the file to your server
- Make the file executable with the command: chmod +x filename.bin
- Run the installer: ./filename.bin
- Select Acronis Backup Agent for Linux
 |
 |
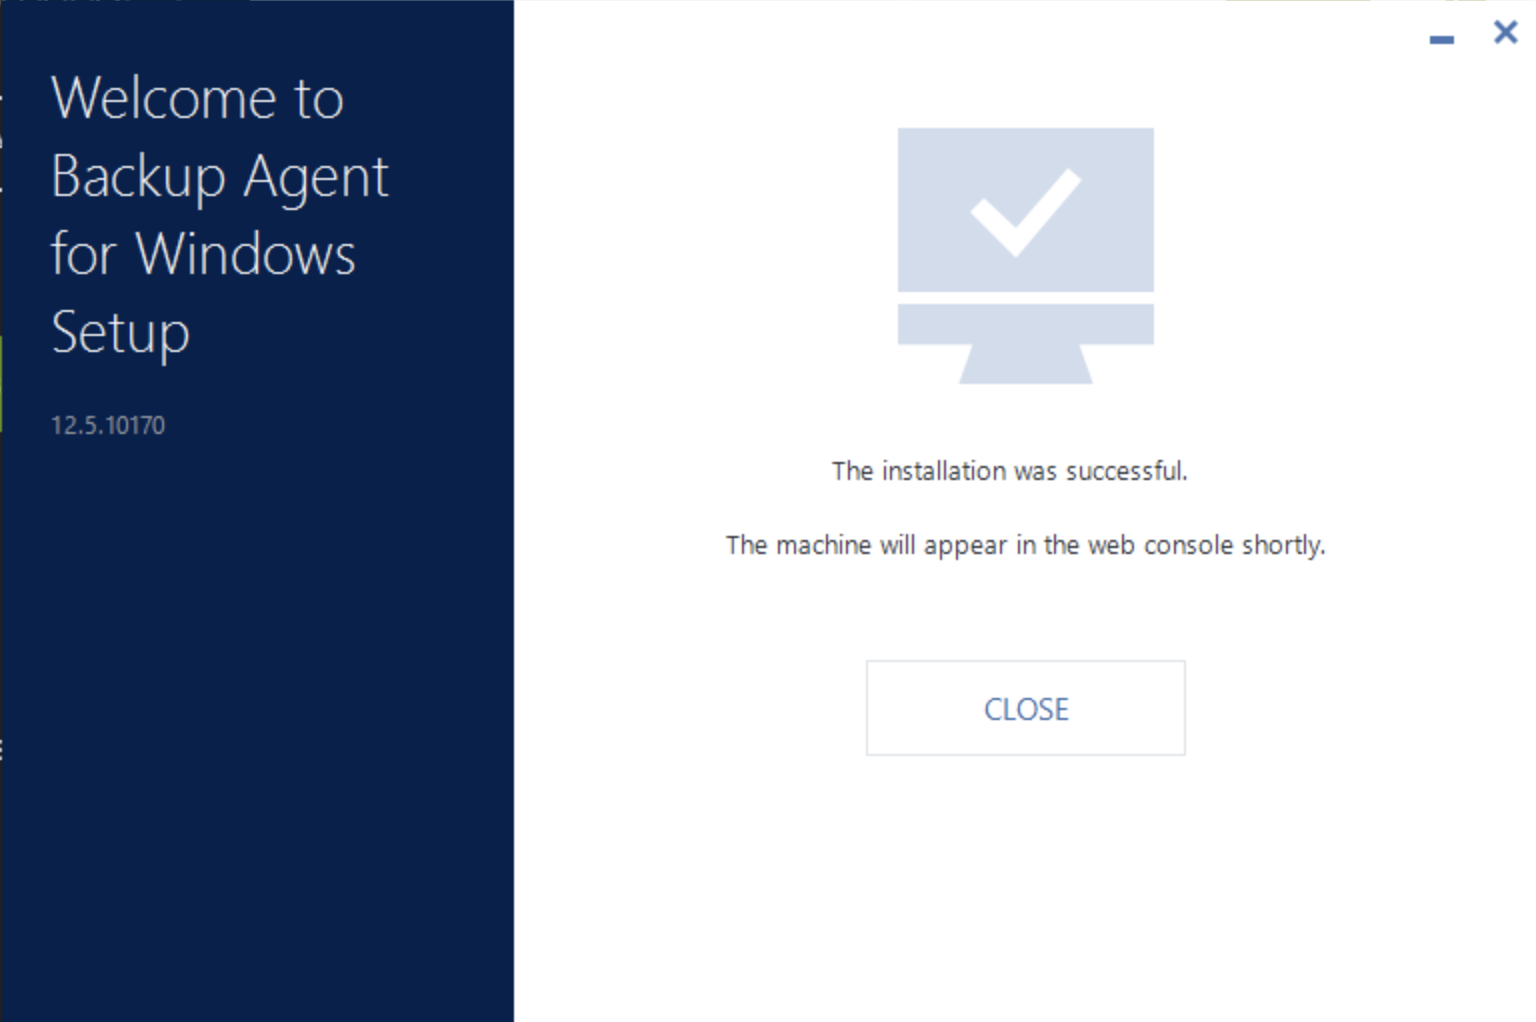
- Wait for the installation to complete
- Select Show Registration Info
 |
 |
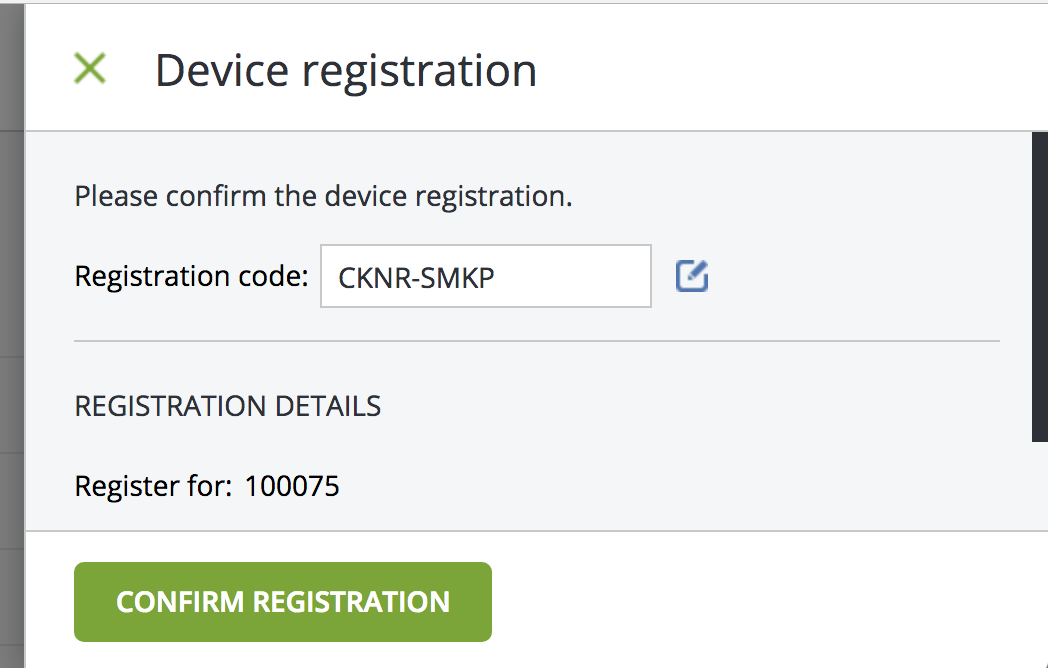
- Copy the code and log in to your Acronis Backup account, or go directly to https://baas.stwcp.net/ui/reg
- Fill in Registration Code and click Confirm Registration
 |
 |
-
The shell installation will automatically continue. Select Exit to finish.

-
The server will appear in your Acronis Backup account shortly so you can configure a backup plan. See Configure and enable backup plan

Create a backup plan
- Log in to your Acronis account, see guide
- Go to Devices - All devices, select the relevant server and click Protect or Beskytt

- Click Create Plan

- Configure the backup settings as needed and click Create to create the backup plan.
- The settings in the backup plan can be changed at any time, even after the plan is created.
- The example below shows a backup plan that runs daily at 02:00.

Change backup plan
- Log in to your Acronis account, see guide
- Go to Devices - All devices, select the relevant server and click Protect or Beskytt
- Then click Edit/Rediger on the relevant plan
- Change settings under Backup/Sikkerhetskopi
- Click the Save/Lagre button to save changes
 |
 |
Update the Acronis Backup agent
- Log in to your Acronis Backup account (click here for the guide).
- Click Settings in the left menu (Norwegian: Innstillinger)
- Then click the menu option Agents (Norwegian: Agenter)
- Click the relevant machine/device
- Option 1: Click Update Agent (Norwegian: Oppdater Agent)
- Option 2: Click the warning triangle and then click Install now (Norwegian: Installer nå)
- The update will now be performed and may take a few minutes.
 |
 |
Uninstall the backup agent on Linux
Log in via SSH and run the following command
/usr/lib/Acronis/BackupAndRecovery/uninstall/uninstall -aFile systems and limitations

Upgrade Acronis Backup Cloud
- Log in to https://my.servetheworld.net
- Click Products
- Click My Products
- Click Manage on the Acronis Backup Cloud service
- Click Upgrade/Downgrade
- Select the desired upgrade
- Complete the purchase on the next page
Note: the upgrade will not take effect until payment is registered.