Databases
Here you will find answers to the most common questions related to Databases, MySQL, and phpMyAdmin.
Create database
Create or change password for database user
Access to the MySQL database via phpMyAdmin
Database export
Database import
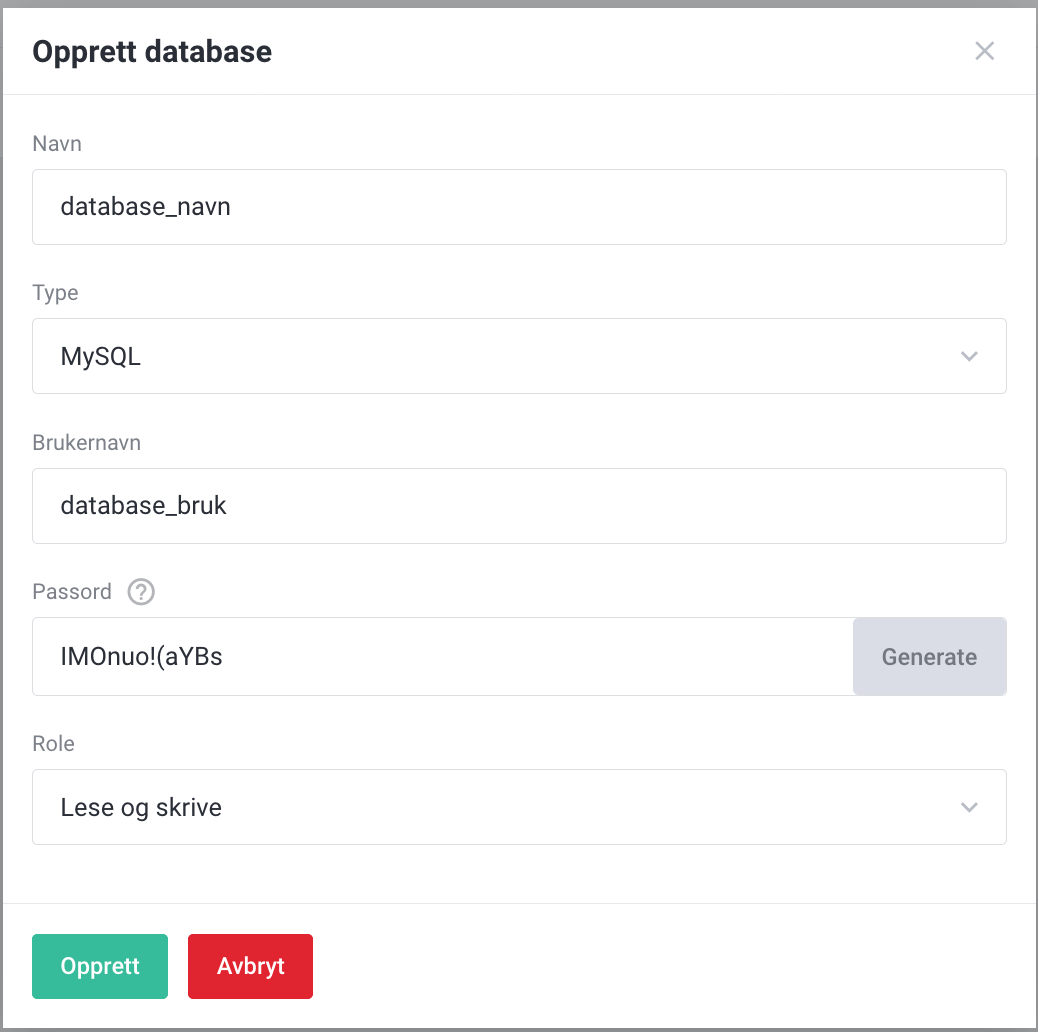
Create MySQL database
To connect to the database, use localhost as the database server and port 3306
- Log in to https://my.servetheworld.net
- Click on Products
- Click on My Products
- Click on Manage next to the relevant web hosting
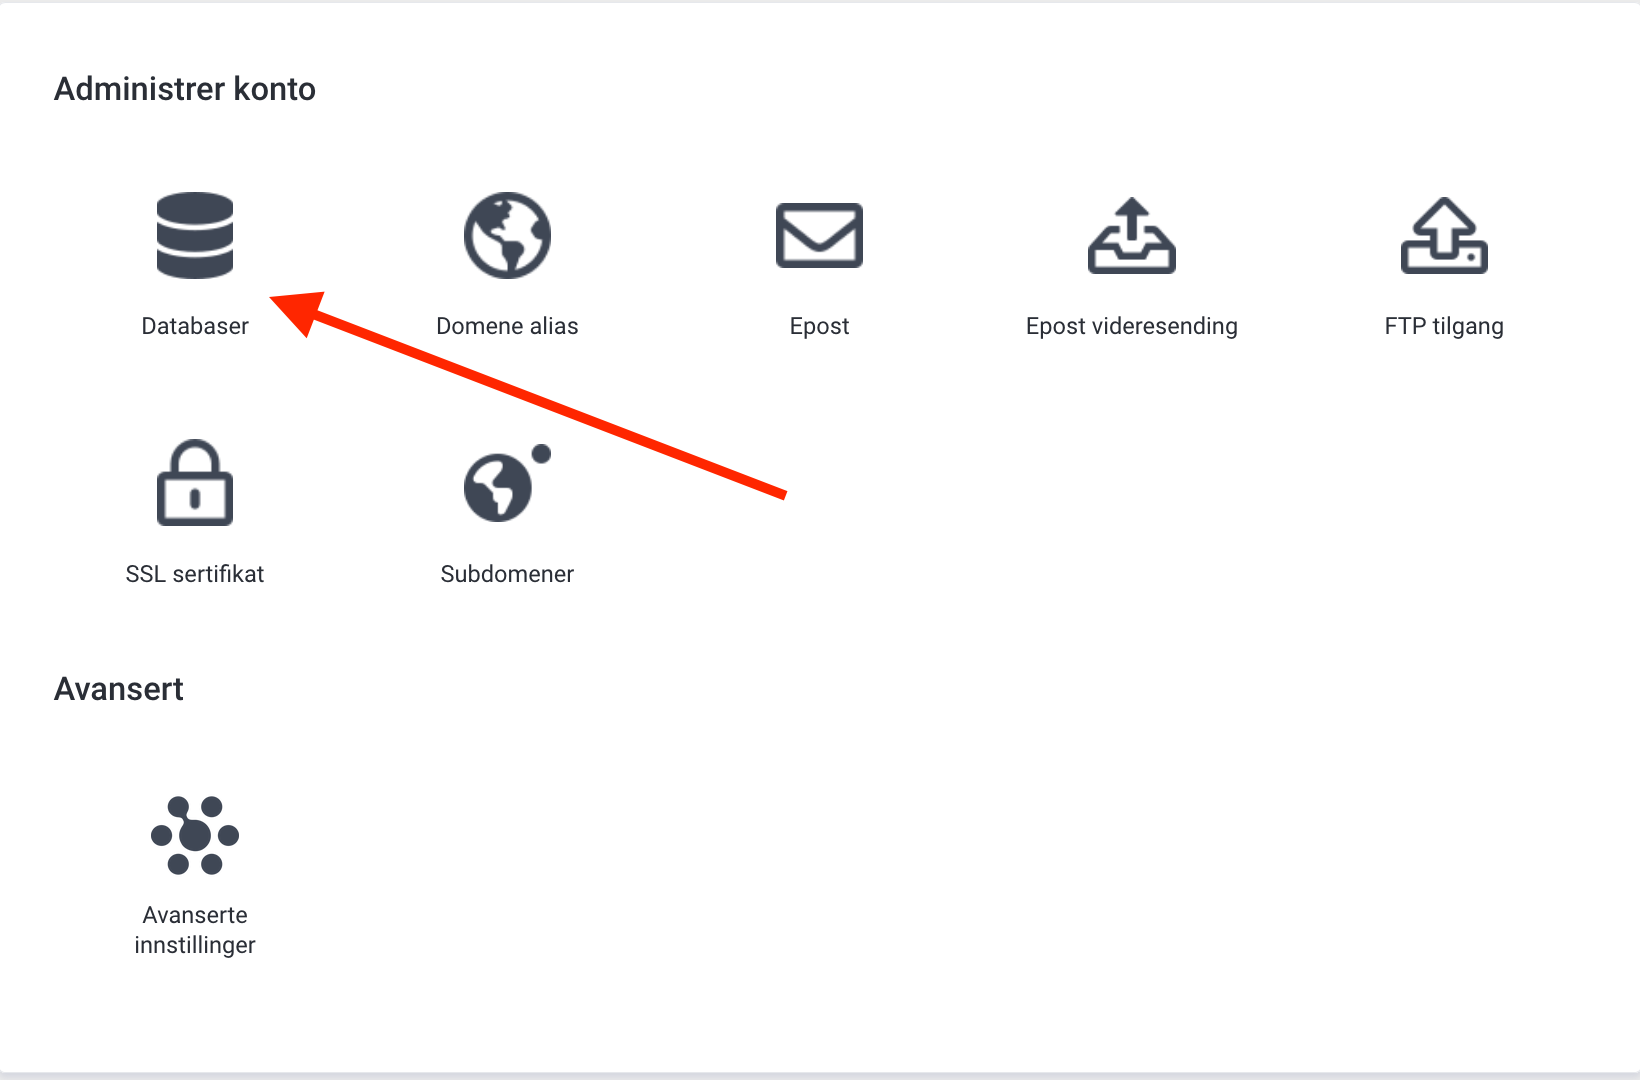
- Click on Databases and then Create database
- Fill out the fields and click on Create to complete the setup
You should now have the following information to connect to the MySQL database:
- Database name
- Database username
- Database password
- Database server name: localhost
 |
 |
Create or change password for database user
- Log in to https://my.servetheworld.net
- Click on Products
- Click on My Products
- Click on Manage next to the relevant web hosting
- Click on Databases
- Select the Users tab
- Click on Create database user to create a user
- Click on the Edit icon to change the password
Access to MySQL database via phpMyAdmin
- Log in to https://my.servetheworld.net
- Click on Products
- Click on My Products
- Click on Manage next to the relevant web hosting
- Click on Advanced Settings
- Click on Databases
- Click on phpMyAdmin
Database export
- Log in to https://my.servetheworld.net
- Click on Products
- Click on My Products
- Click on Manage next to the relevant web hosting
- Click on Advanced Settings
- Click on Databases
- Find the relevant database
- Click on Export Dump
- Make sure to check the box for Automatically download dump after creation
- Click on OK
- A download of your database backup to your computer will now be initiated.
 |
 |
Database import
- Log in to https://my.servetheworld.net
- Click on Products
- Click on My Products
- Click on Manage next to the relevant web hosting
- Click on Advanced Settings
- Click on Databases
- Find the relevant database
- Click on Import dump
- Check the box for Upload a dump from your local computer
- Click on Choose file.. and select your database file
- Click on Import Dump to start the import
 |
 |