Manage VPS
Here you will find management options for VPS services such as SSD VPS, GP1, GP2, WGP1, WGP2
Log in to the server via SSH
Start, stop, and restart your VPS
Change the password for root (Linux) or Administrator (Windows)
Upgrade VPS
Remote control virtual server with VNC
Change hostname
Reinstall operating system
Upload ISO
Log in to the server via SSH
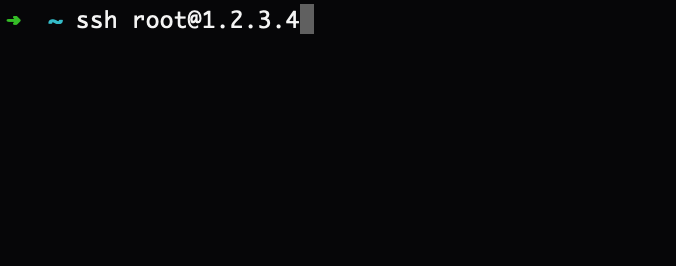
- Open Terminal.app
- Enter
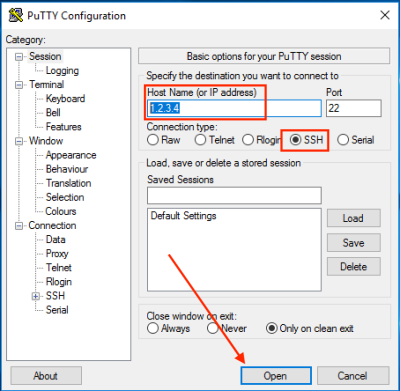
ssh root@<your server ip>, e.g.ssh root@1.2.3.4
 |
 |
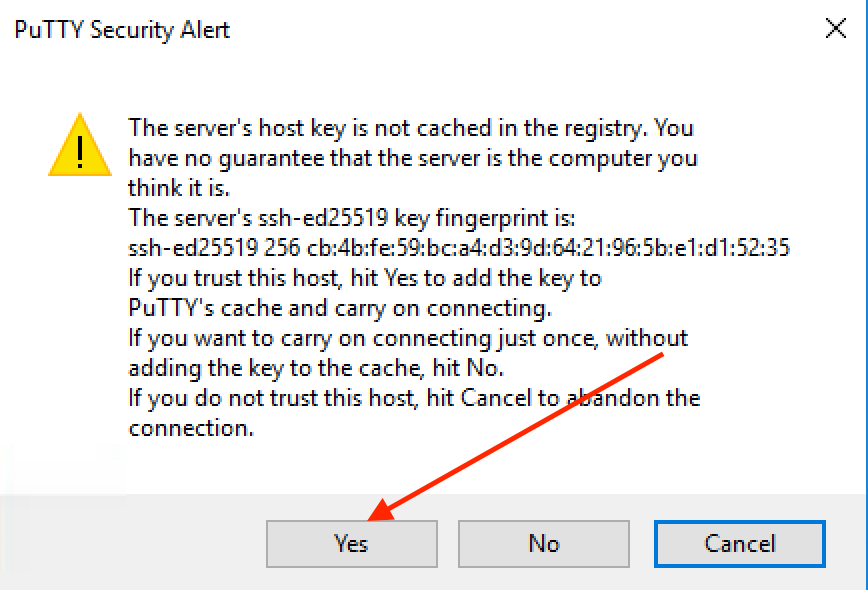
- If this is the first time you log in, you may get a warning. Type "Yes" and then press Enter
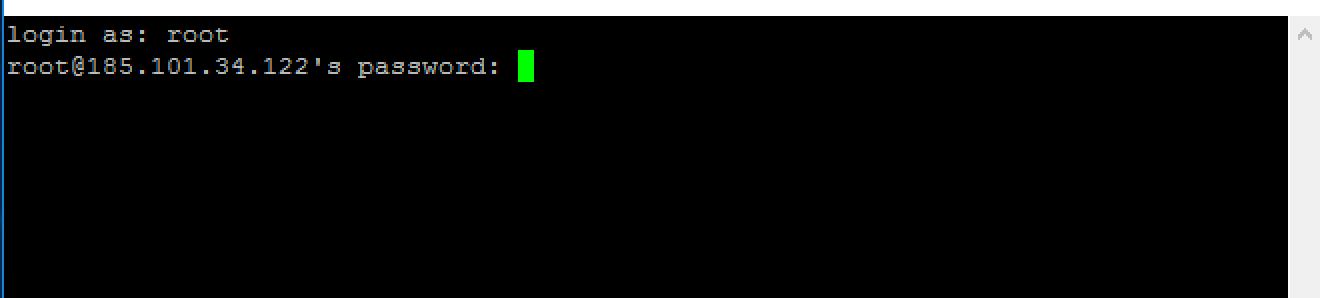
- Enter the password and then press Enter
- You should now be logged in!
 |
 |
Start, stop, and restart your VPS
- Log in to https://my.servetheworld.net
- Click Products
- Click My Products
- Click Manage on the relevant VPS
- In the Actions section, click the desired action (Start, Stop, Restart)
- Alternatively, see the available buttons under VPS Information

Change the password for root (Linux) or Administrator (Windows)
- Log in to https://my.servetheworld.net
- Click Products
- Click My Products
- Click Manage on the relevant VPS
- Go to Settings and then Change Password.
- Fill in the fields with the new password and click the Change Password button
- Power off and power on the VPS (not the Restart button) to apply the change
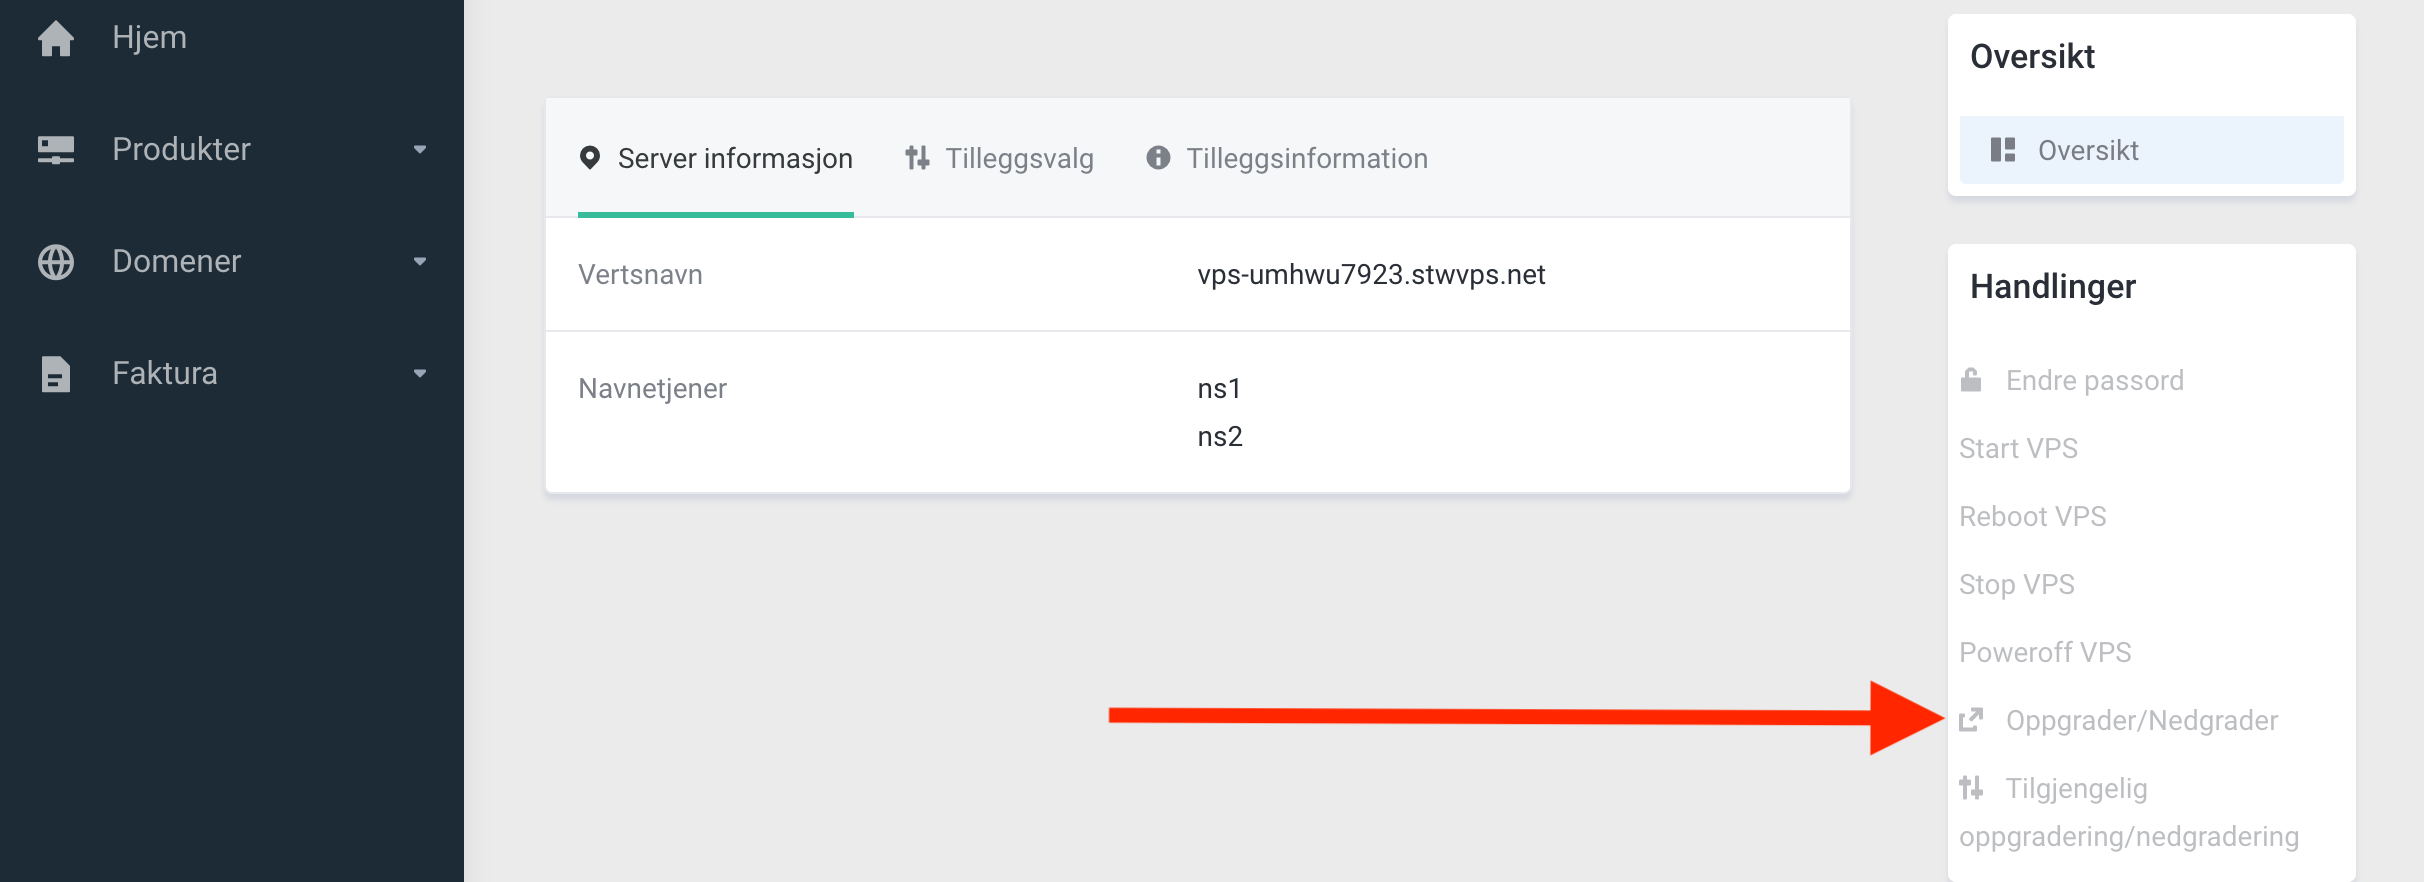
Upgrade VPS
- Log in to https://my.servetheworld.net
- Click Products
- Click My Products
- Click Manage on the relevant VPS
- Click the Upgrade button under Actions.
The upgrade will be ready once payment is registered.
The server must be stopped and started (not using the Restart button) via the control panel for the changes to take effect.
Change hostname on VPS
- Log in to https://my.servetheworld.net
- Click Products
- Click My Products
- Click Manage on the relevant VPS
- Go to Settings and then Change Hostname.
- Enter the new hostname and click the Change Hostname button
- Power off and power on the VPS to apply the change

VNC console
- Log in to https://my.servetheworld.net
- Click Products
- Click My Products
- Click Manage on the relevant VPS
- Click the VNC icon (see image below)
- Click Launch HTML 5 VNC Client
| VNC button | VNC console for Linux |
|---|---|
 |
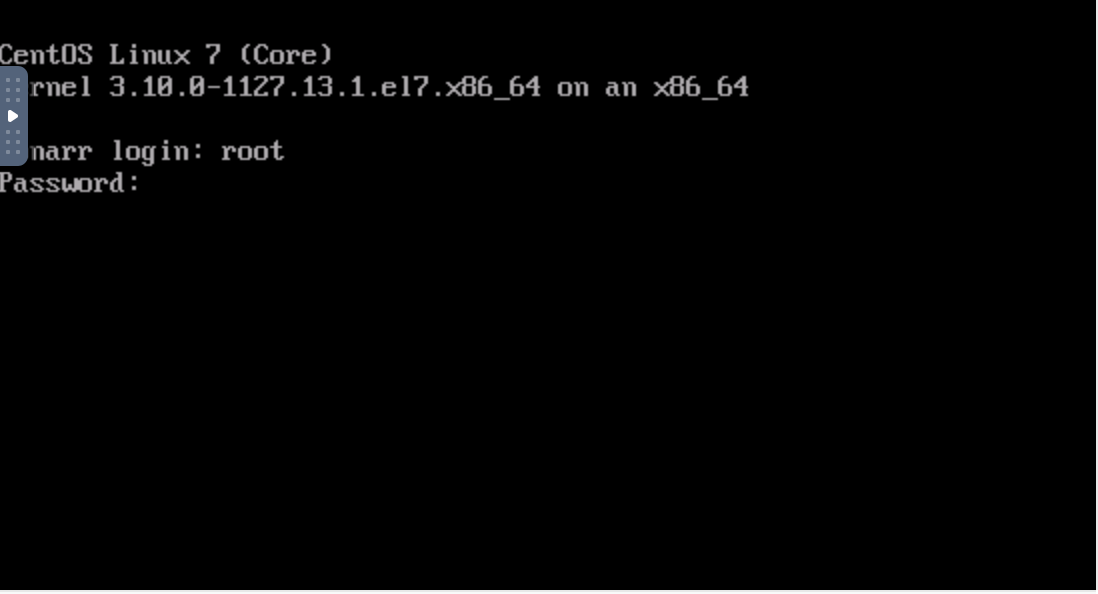 |
| VNC console for Windows - Menu buttons | VNC console for Windows ctrl-alt-delete |
|---|---|
 |
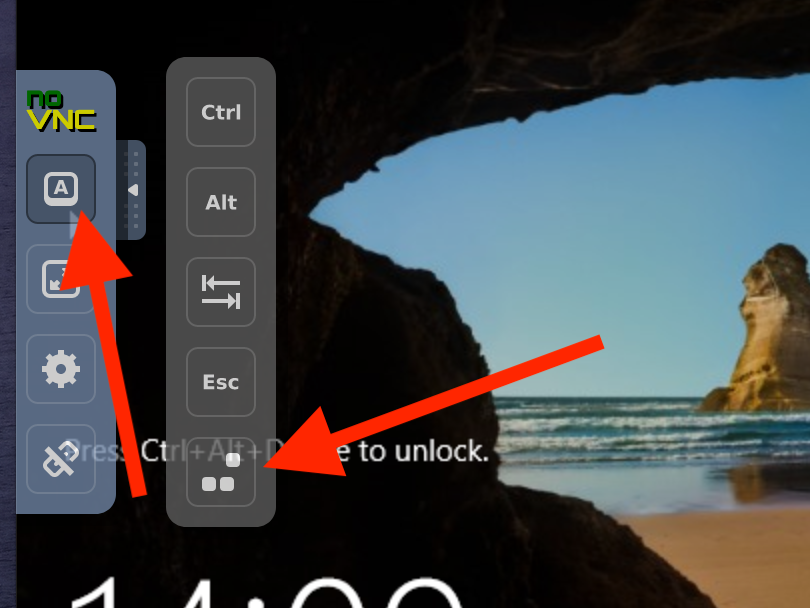 |
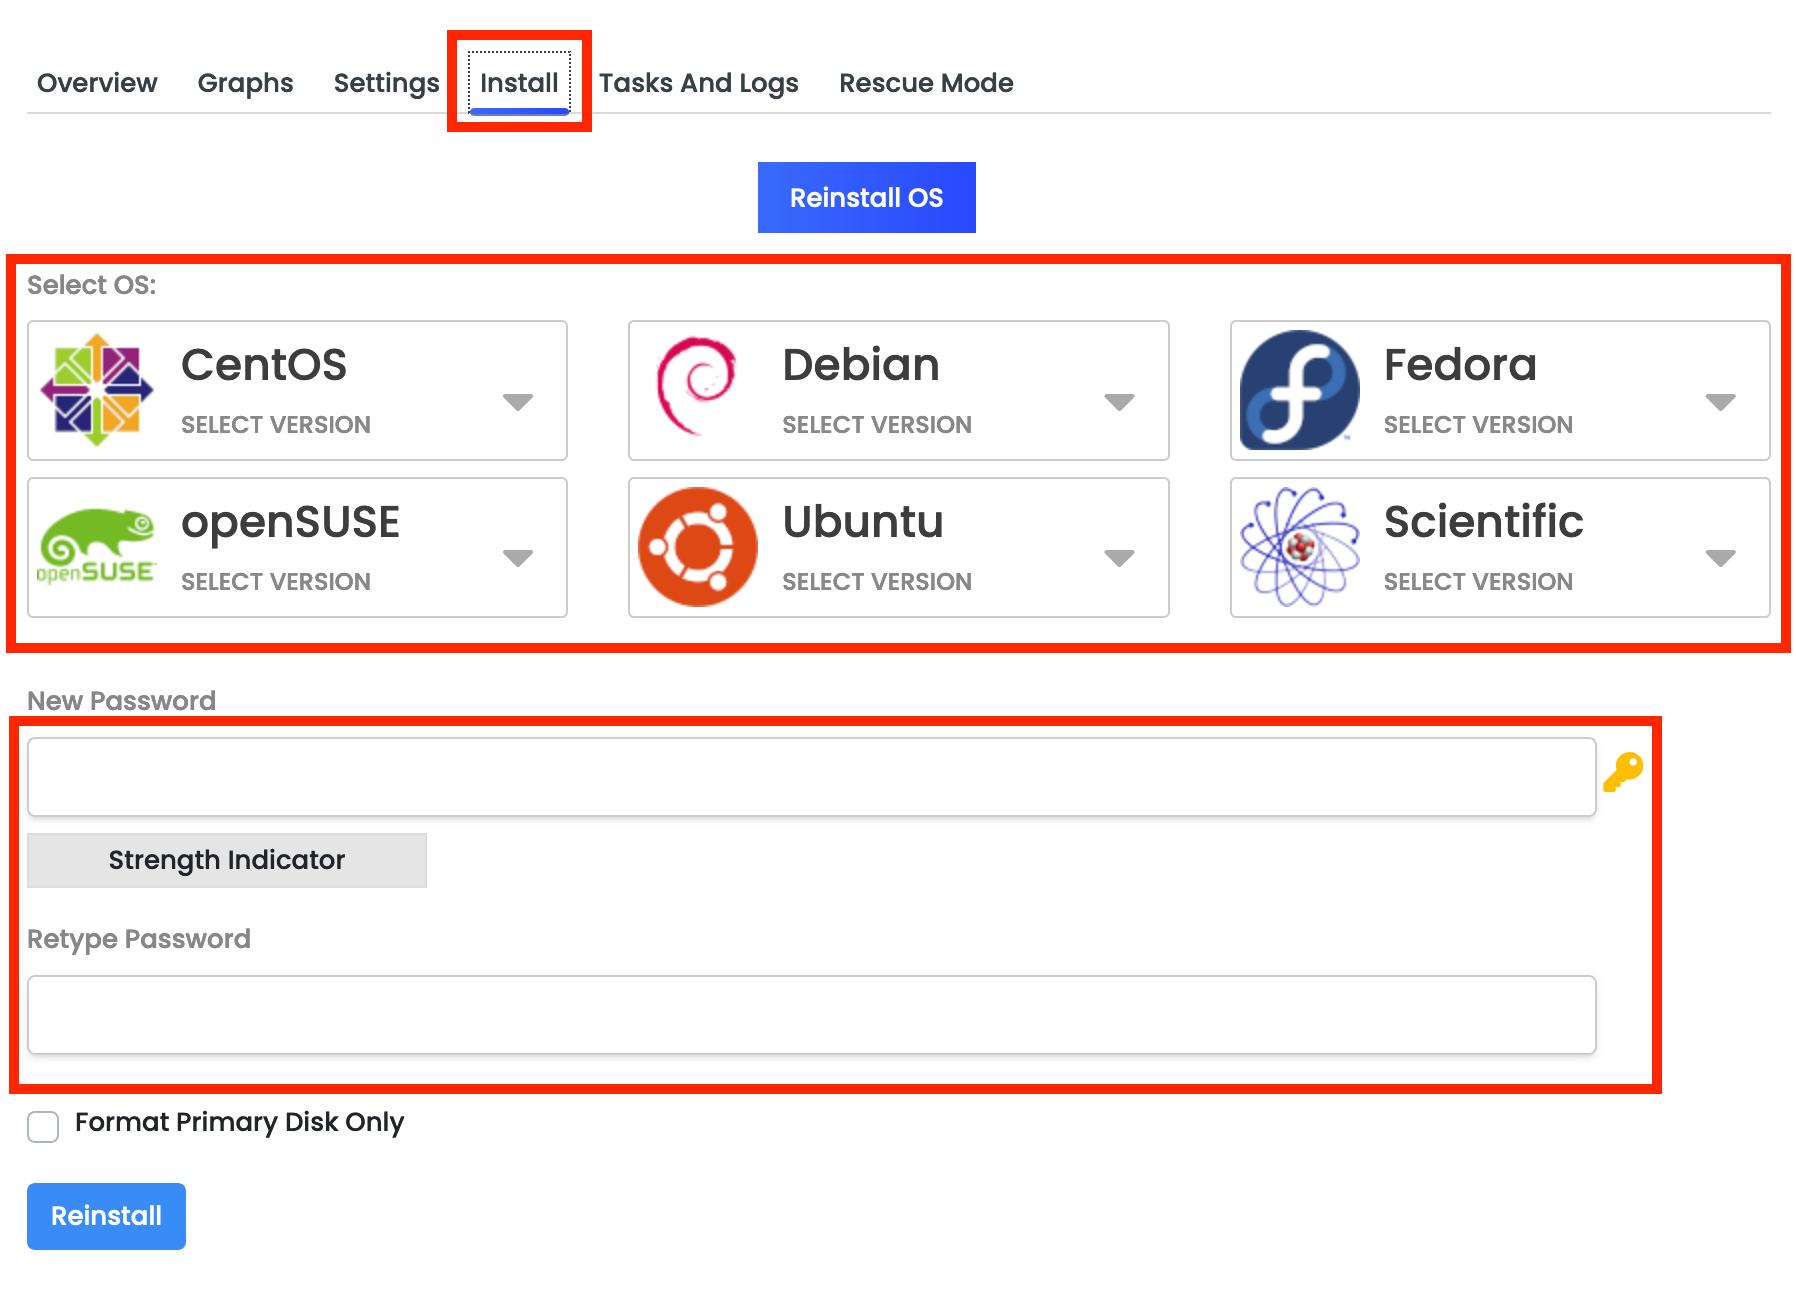
Reinstall operating system
Reinstalling the operating system will delete data on the server. Remember to back up your data before starting the reinstall.
- Log in to https://my.servetheworld.net
- Click Products
- Click My Products
- Click Manage on the relevant VPS
- Under Server Information, go to the Install tab, then select Reinstall OS
- Choose the desired operating system and version
- Fill in the password fields or click the key icon to generate a password. Remember to write down the new password so you don’t forget it.
- Click the Reinstall button
- The reinstall will take a few minutes. When the server is ready, you can log in with the new password from step 7
Upload ISO image
- Log in to https://my.servetheworld.net
- Click Products
- Click My Products
- Click Manage on the relevant VPS
- Click Enduser Panel (you will be redirected to a new area)
- In the left menu, click ISO
- Click ADD ISO
- Enter the URL and name, then click ADD ISO to start the download.
Mount ISO image to VPS
- Log in to https://my.servetheworld.net
- Click Products
- Click My Products
- Click Manage on the relevant VPS
- Under VPS / Server Information, go to the Settings tab
- Go to VPS Configuration
- Change the SELECT ISO field to your ISO image
- Click Submit to save.
Restart your VPS if the ISO is intended for a re-installation. Complete the GUI installation via the VNC console.