Restore server
Restore server via Backup Console (ONLINE)
Restore server using Acronis Boot Media (OFFLINE)
Restore server via Backup Console (ONLINE)
- Log in to your backup account at https://baas.stwcp.net
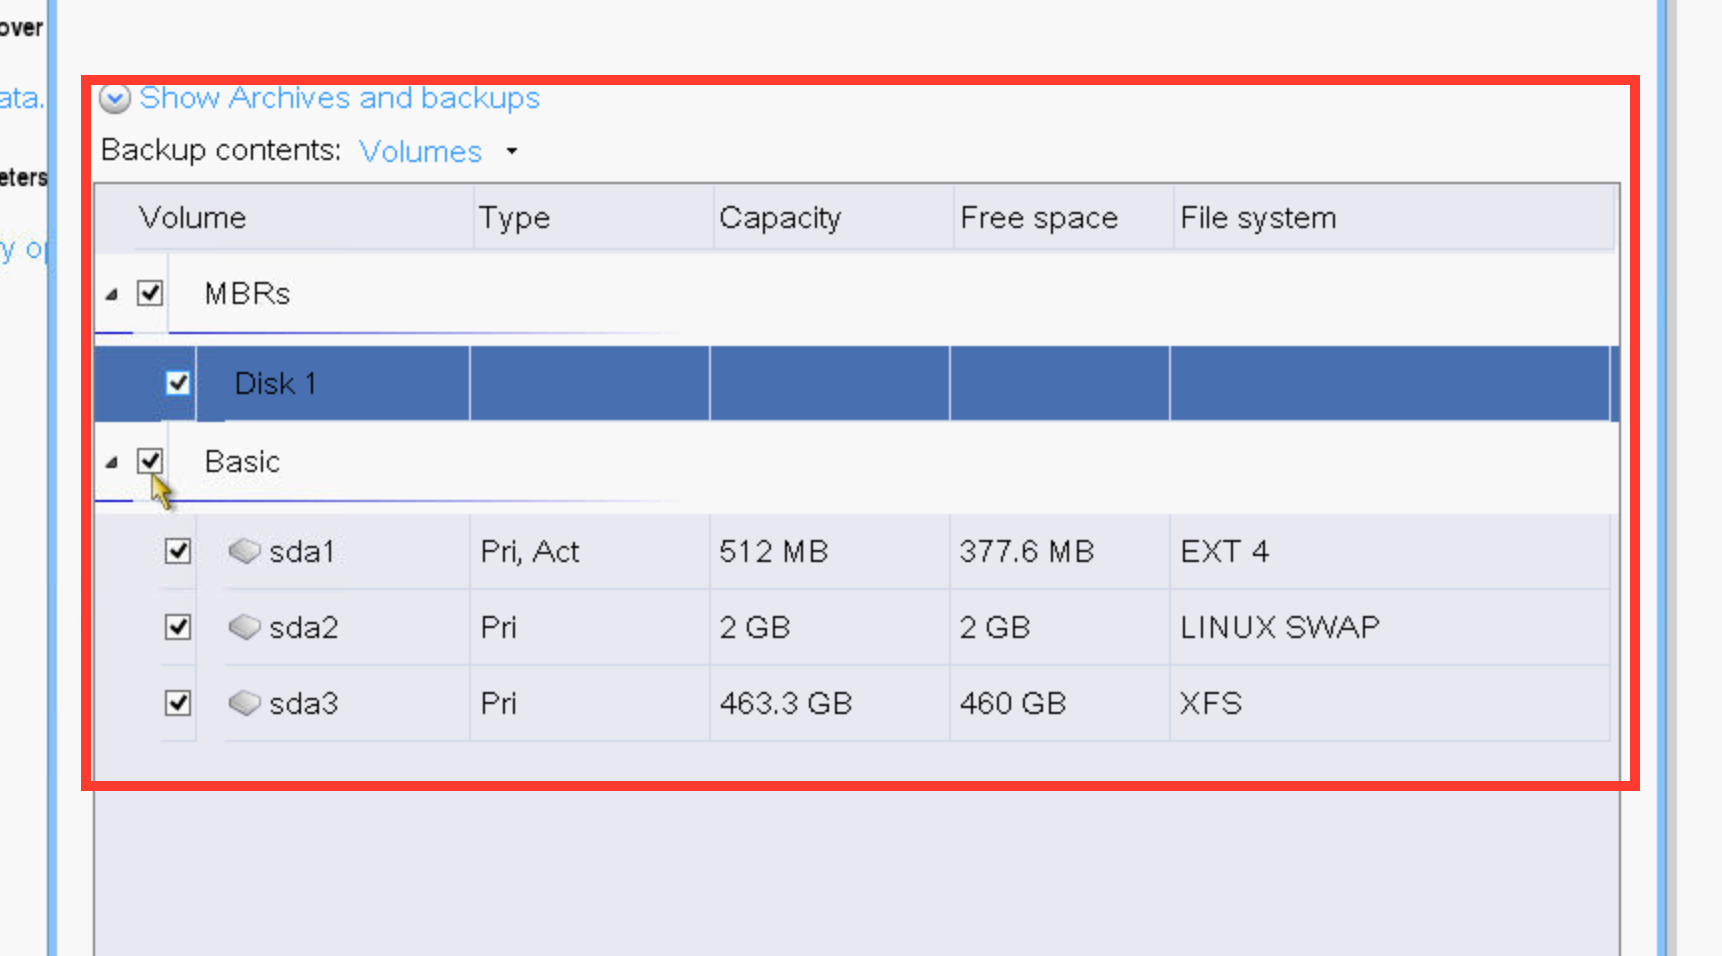
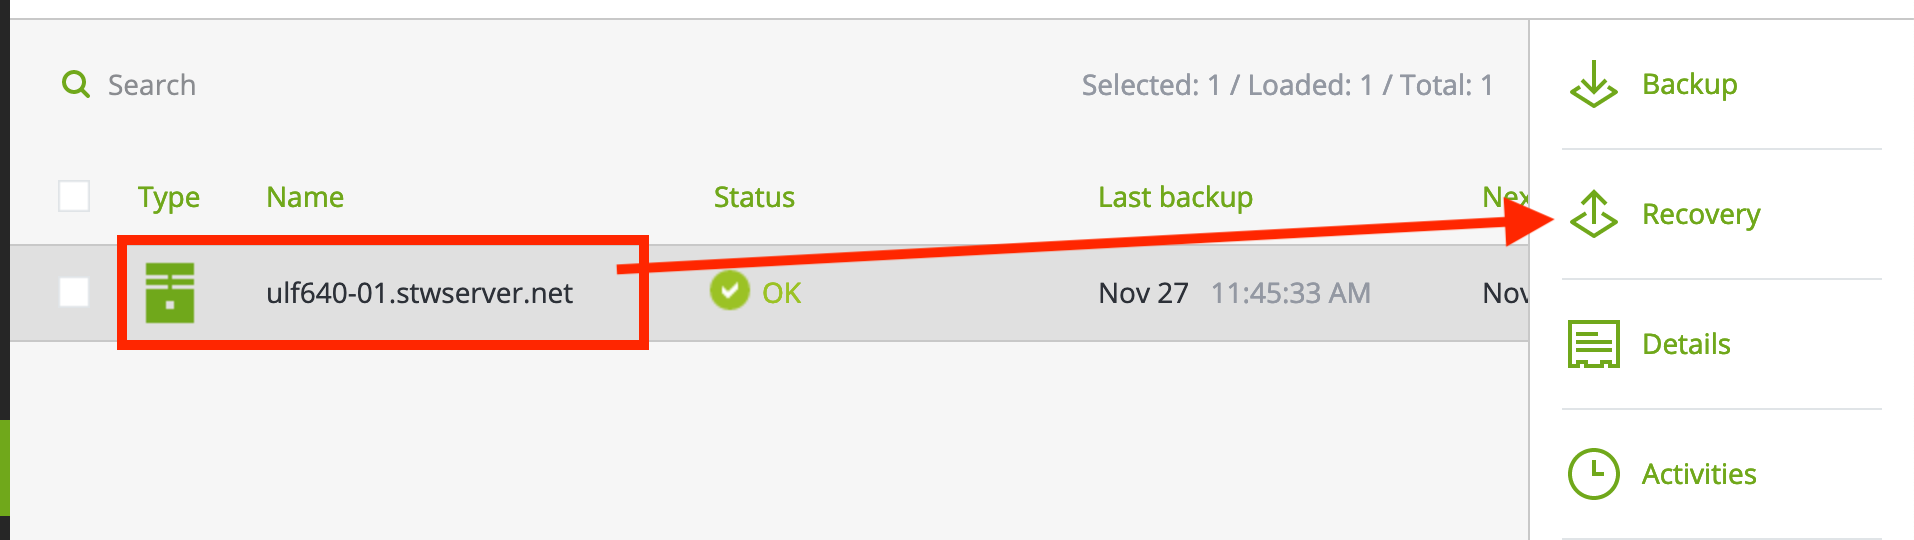
- Select the relevant server under DEVICES and choose Recovery
- Select the desired date, then RECOVER and ENTIRE MACHINE
 |
 |
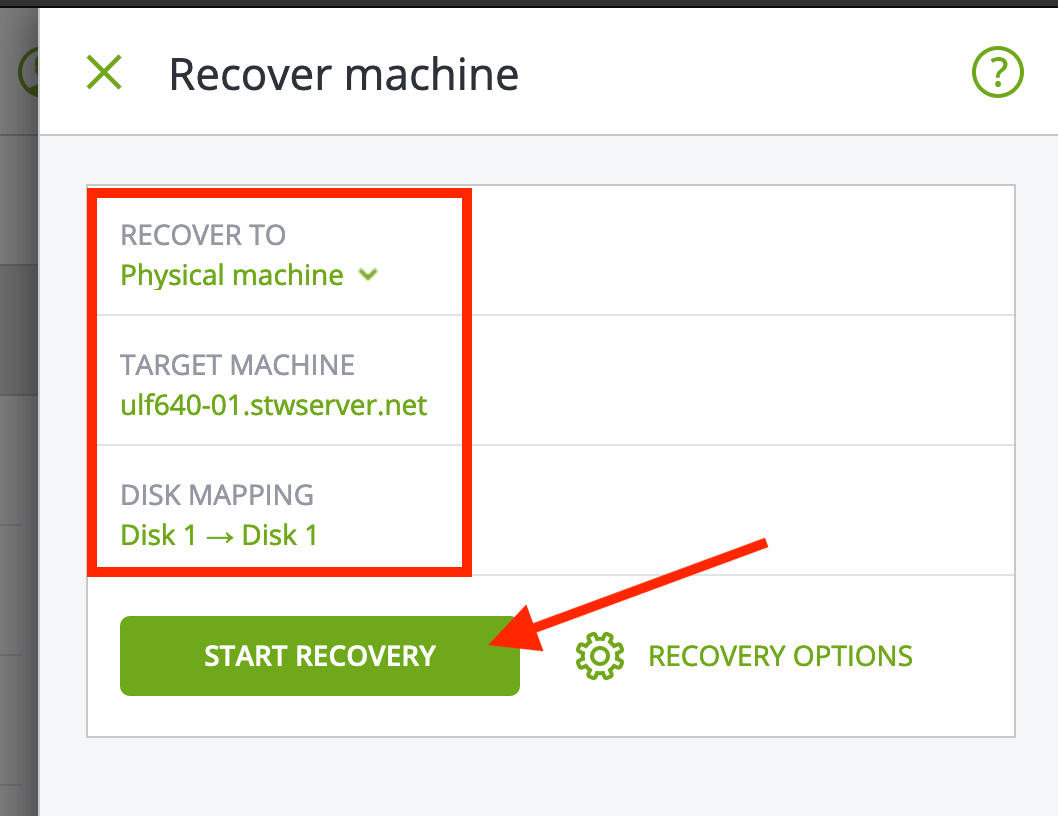
- Click START RECOVERY
- A final confirmation will appear, and you click START RECOVERY again
 |
 |
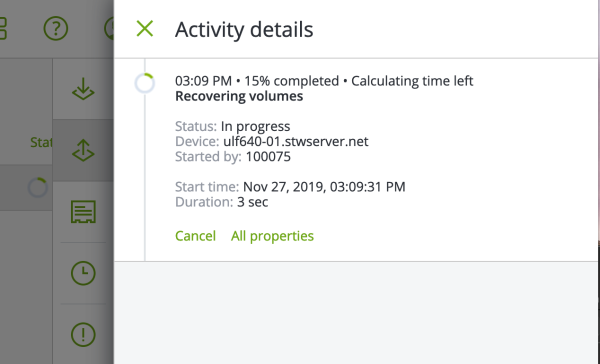
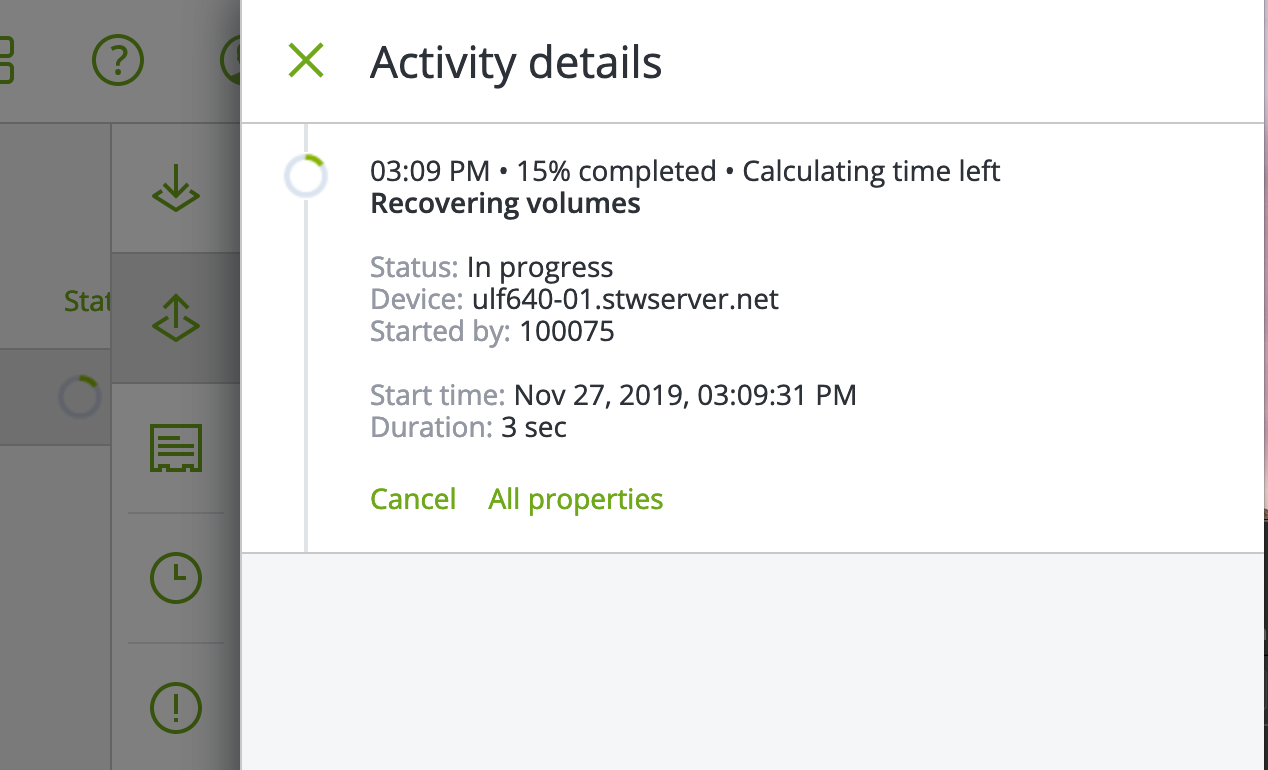
-
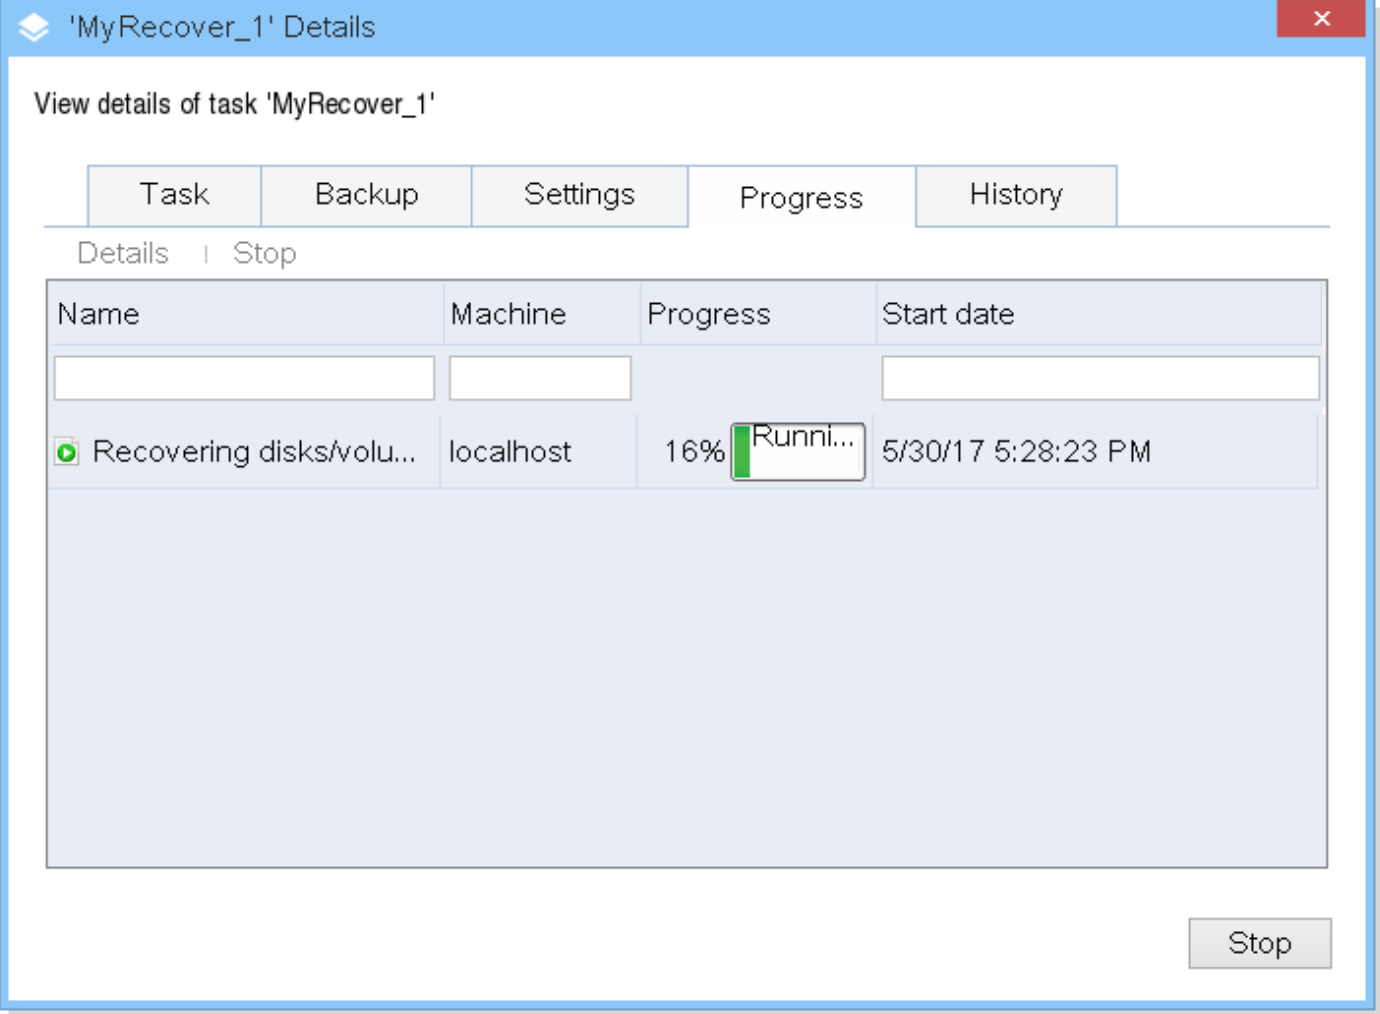
The recovery will run for a while depending on how much data needs to be restored (the process will not be interrupted if you log out of the backup portal or close the browser).
-
(Optional) Via IPMI for a dedicated server or VNC for a VPS, the server will look like this:
Dedicated server: Follow the recovery process via IPMI. See: IPMI connection
Virtual server: Follow the recovery process via VNC. See: VNC console

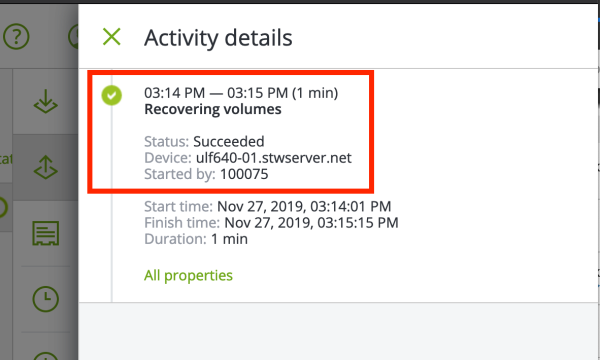
- The recovery is complete when you see the message below, and the server will reboot.

Restore server using Acronis Boot Media (OFFLINE)
Select server type below
- Log in to the VPS control panel https://cp.stwvps.net:4083/
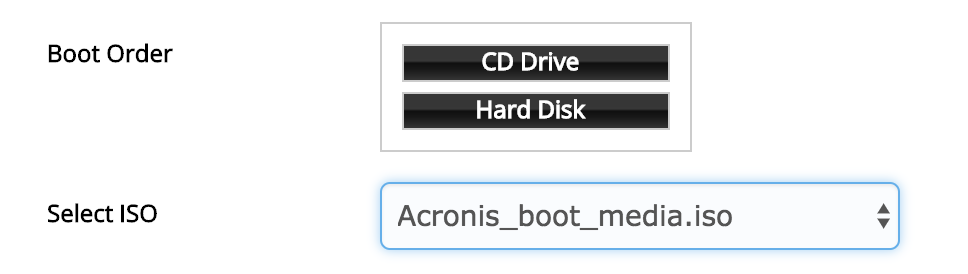
- Go to VPS Configuration and change the Boot Order by clicking and dragging CD DRIVE above HARD DISK
- Select Acronis_boot_media.iso in the SELECT ISO field
- Click SUBMIT to save
- Restart the VPS via the control panel and wait for confirmation that the VPS has restarted
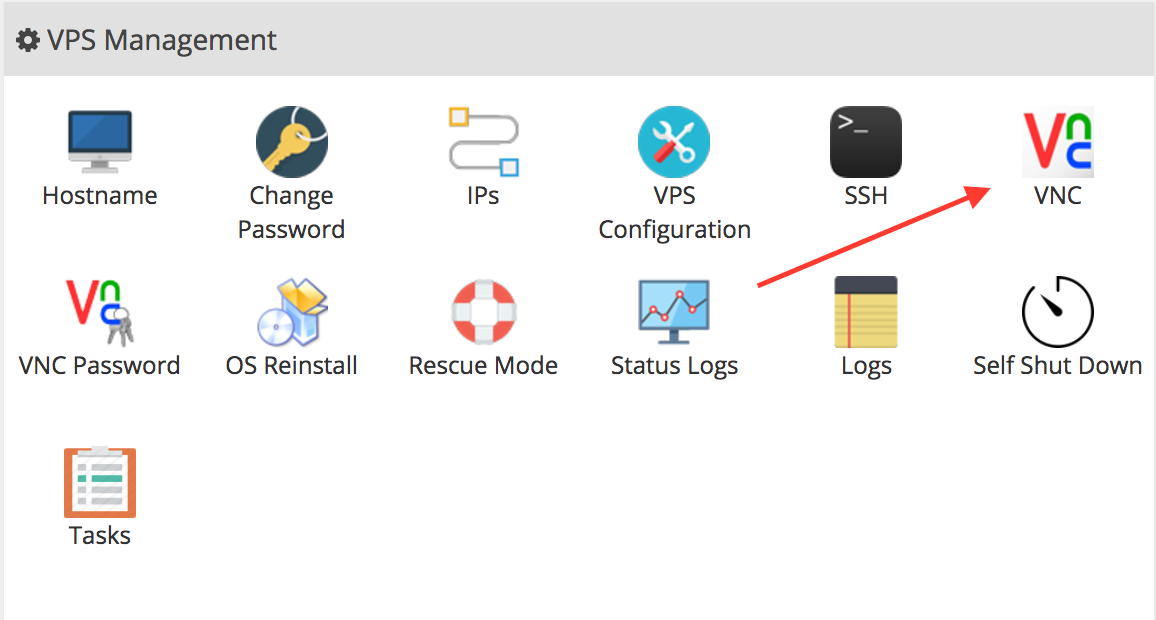
- Open the VNC console by clicking the VNC icon and selecting LAUNCH HTML5 VNC CLIENT (alternatively you can use another external VNC client)
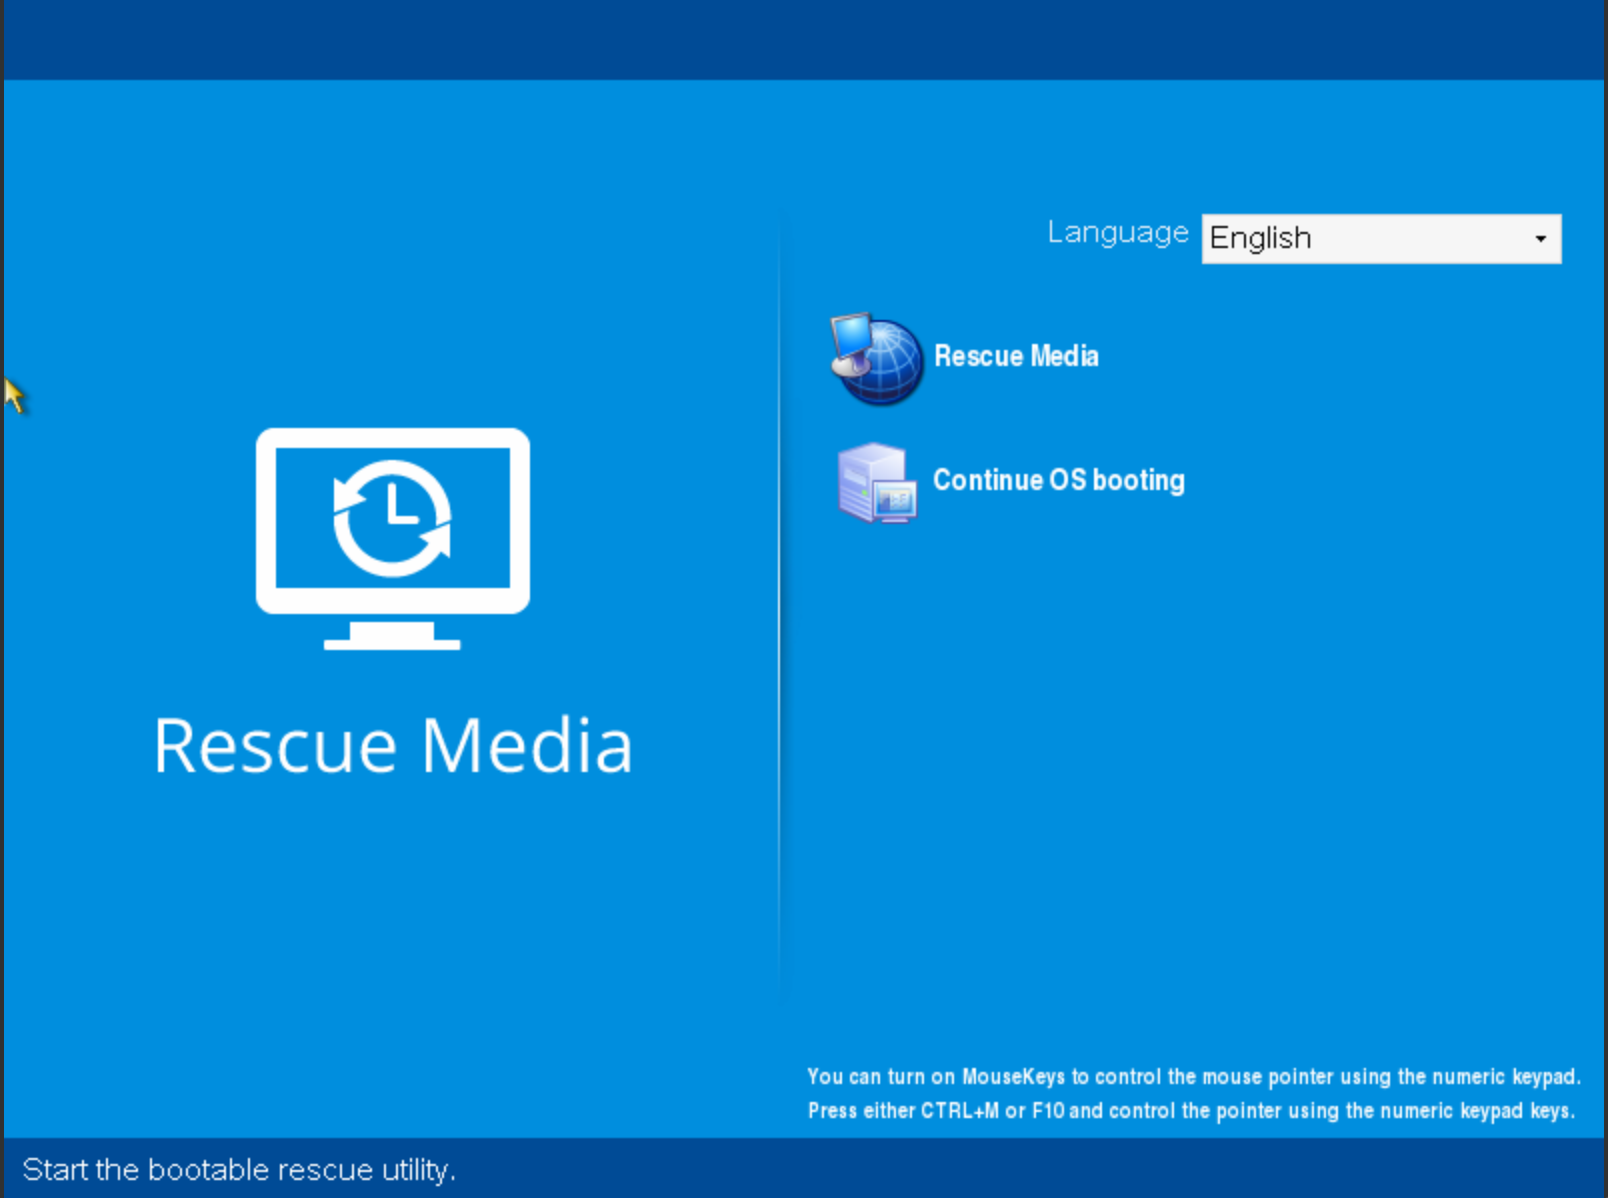
-
You should now see the following screen, click RESCUE MEDIA
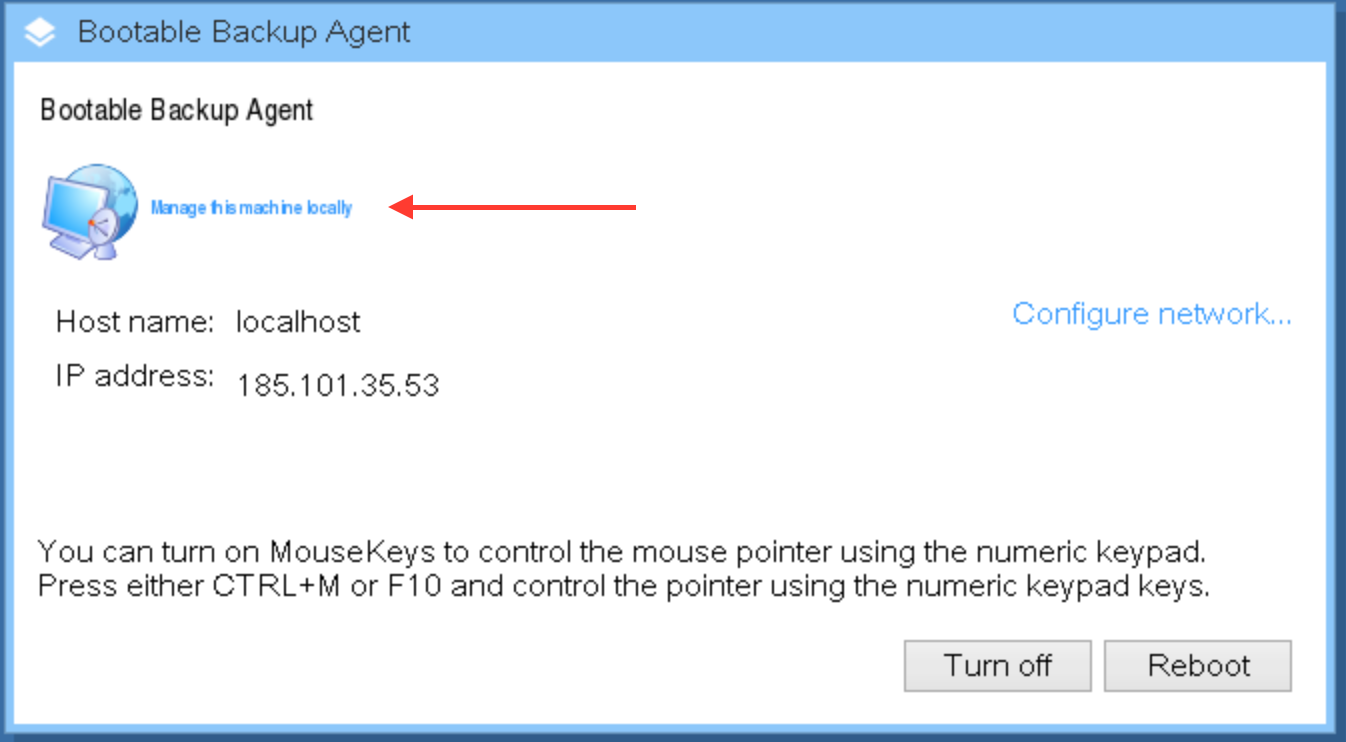
-
Make sure the IP address is correct and click MANAGE THIS MACHINE LOCALLY
-
On the welcome screen, select RECOVER
-
Click SELECT DATA, Browse, then CLOUD STORAGE
-
Log in with your username and password
-
Expand CLOUD STORAGE, select your username, click OK
-
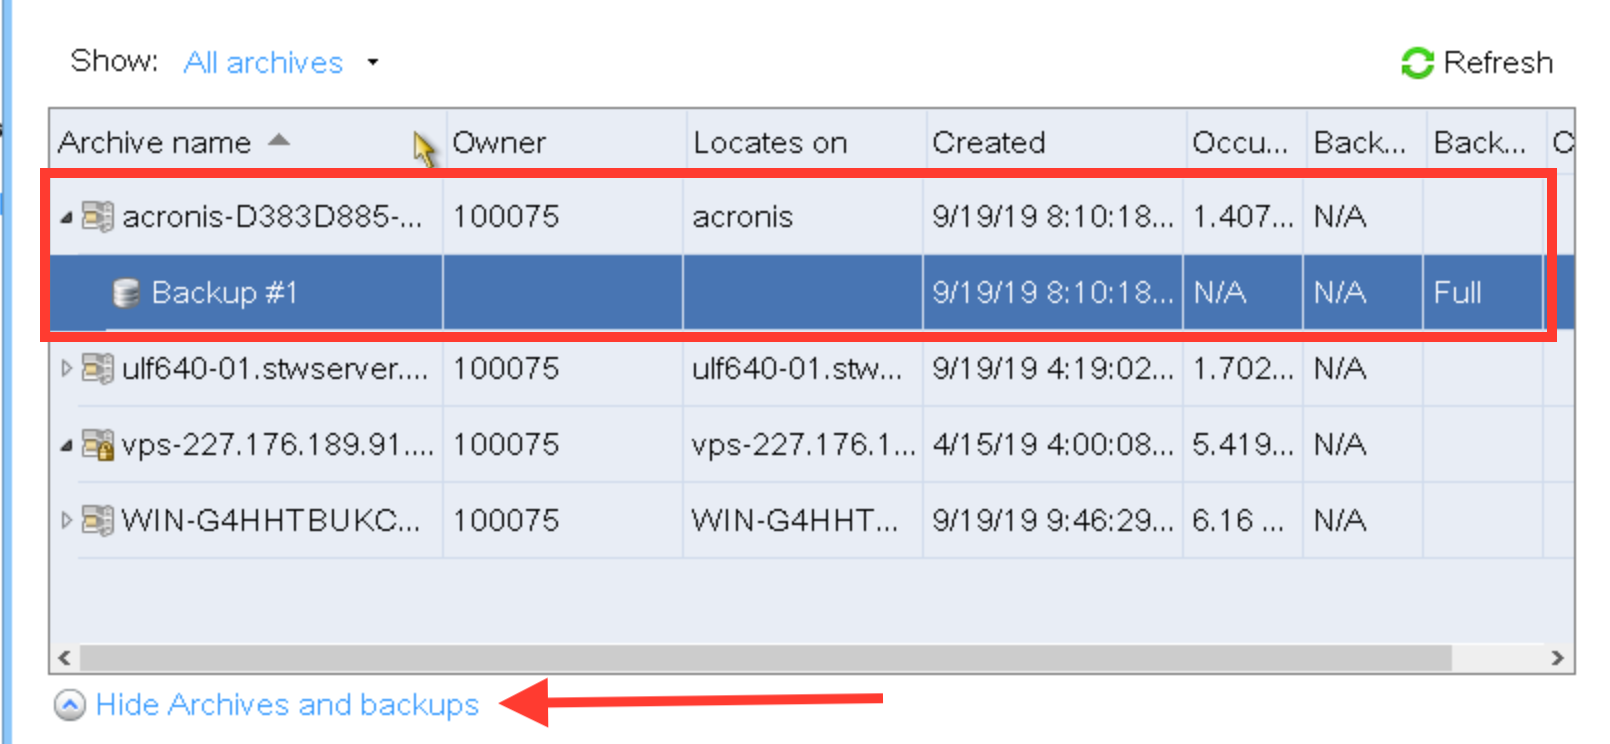
Select the relevant machine and backup date
-
Tick MBR/DISK1 and BASIC/VDA1 - click OK
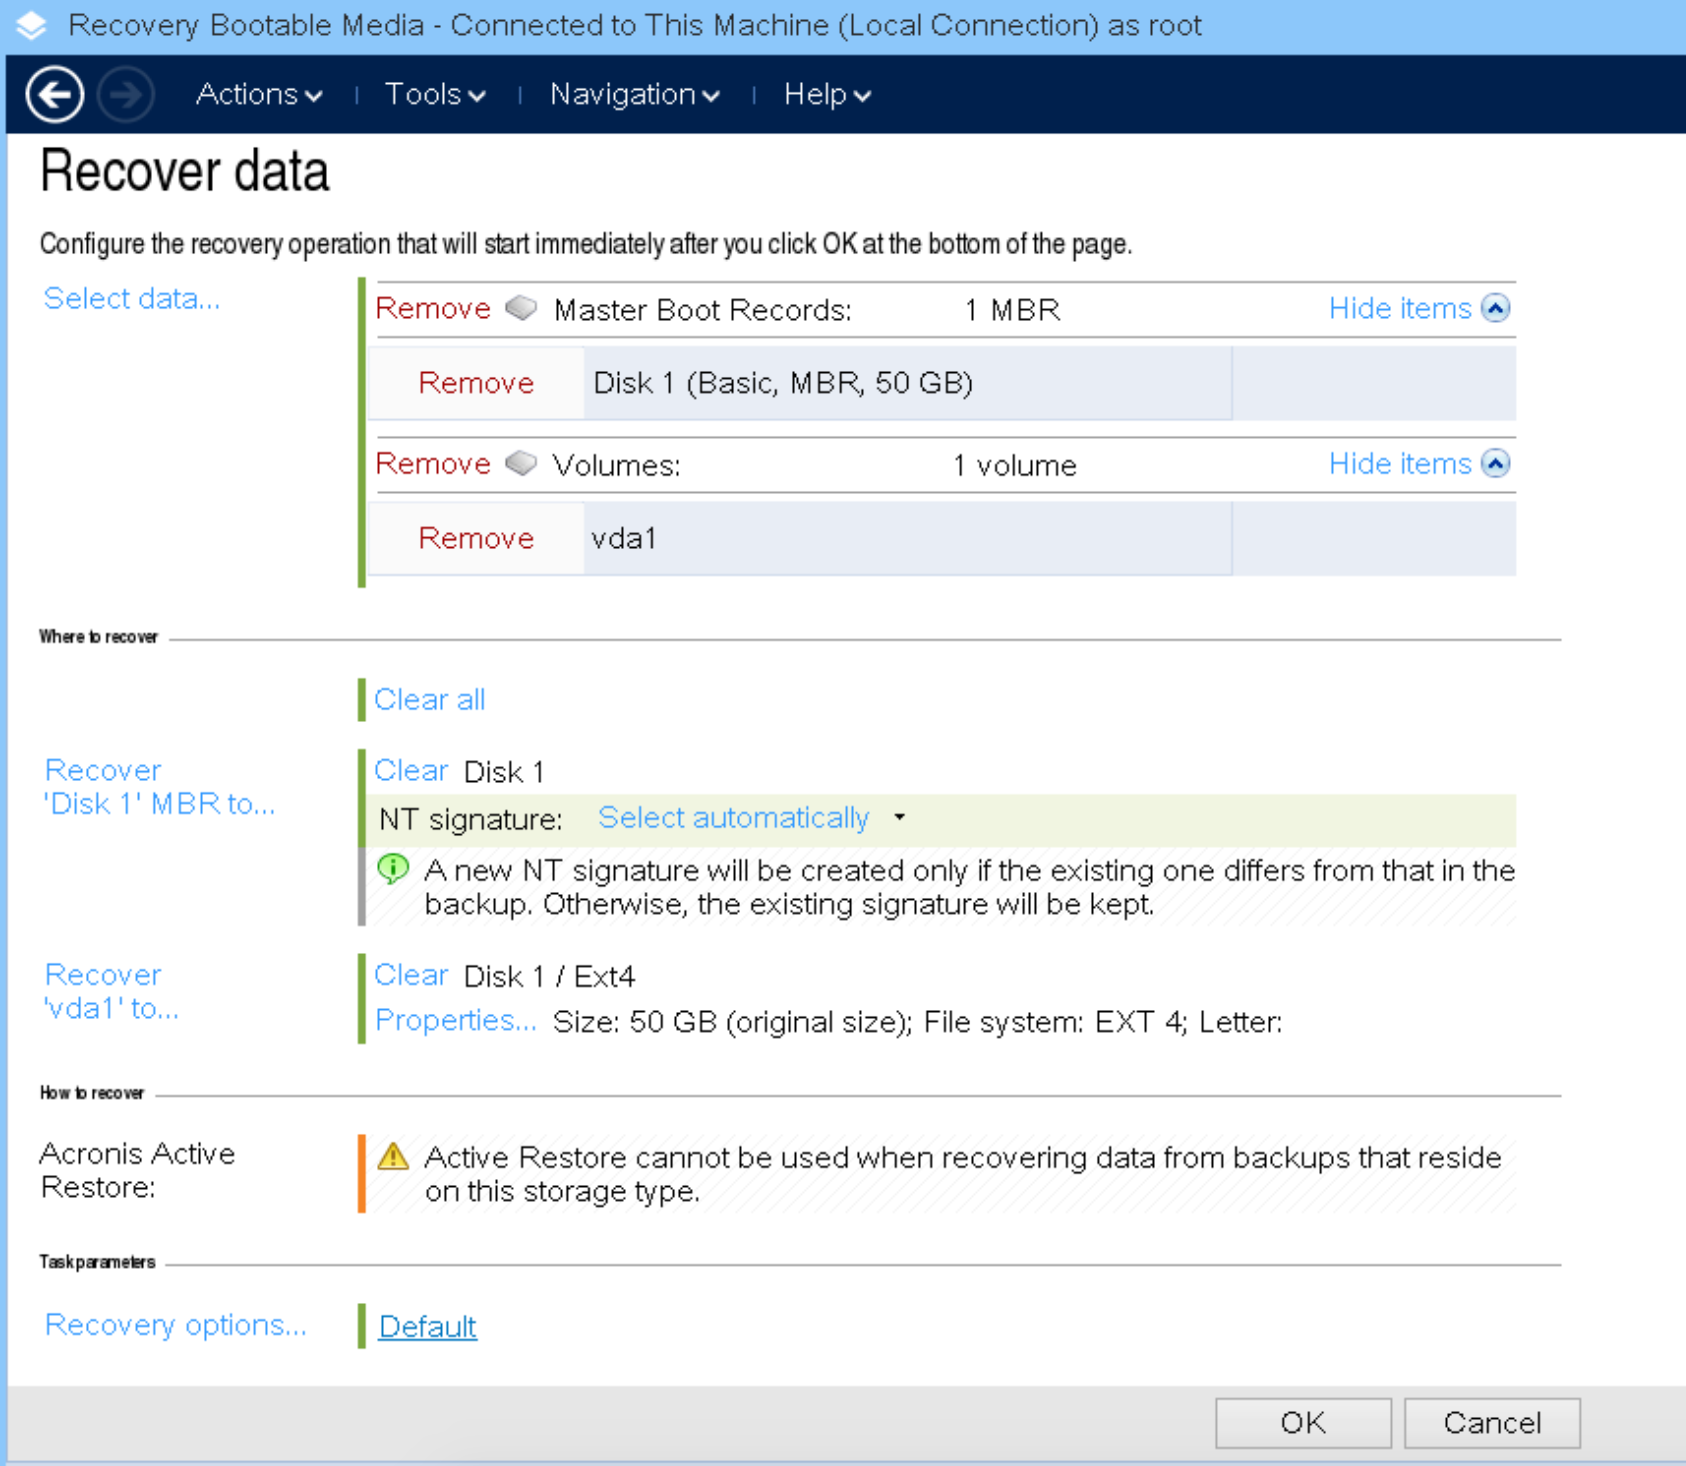
-
You will now see a recovery summary. Click OK to start the recovery.
-
Recovery can take from 5 minutes to several hours depending on the amount of data to be restored.
- Recovery is complete when you see this message.

- Go back to the VPS control panel, go to VPS Configuration
- Change Boot Order (HARD DISK moved above CD DRIVE)
- Select NONE in the SELECT ISO field
- Restart the VPS via the control panel https://cp.stwvps.net:4083/